- Log in to your Account Manager.(click image below for screen shot. If image the screenshot is small, click the screenshot image to view full size.)
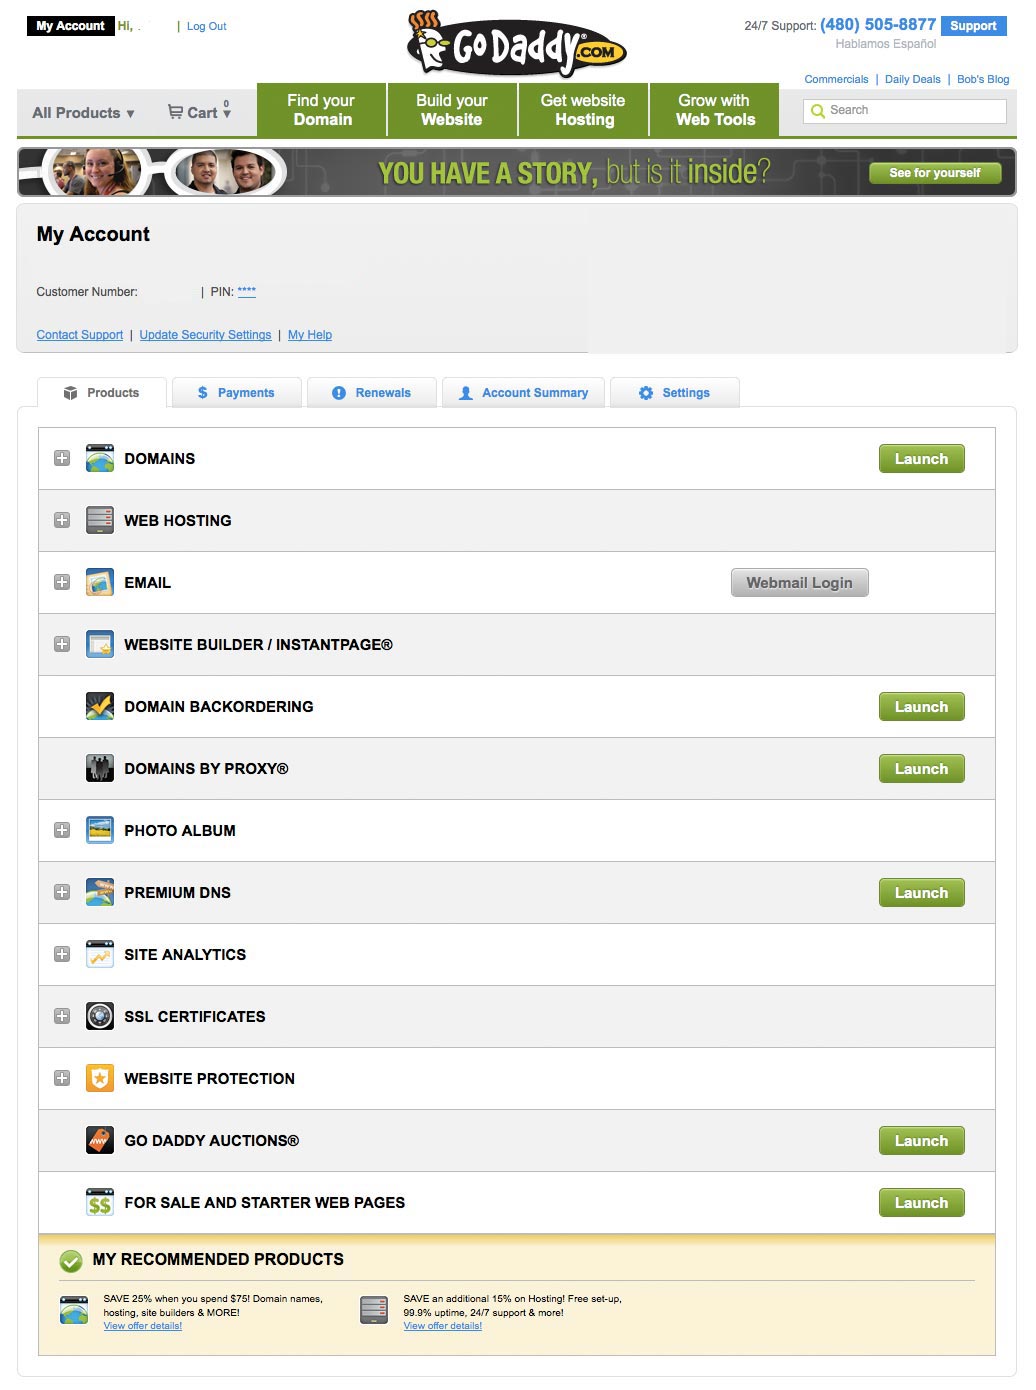
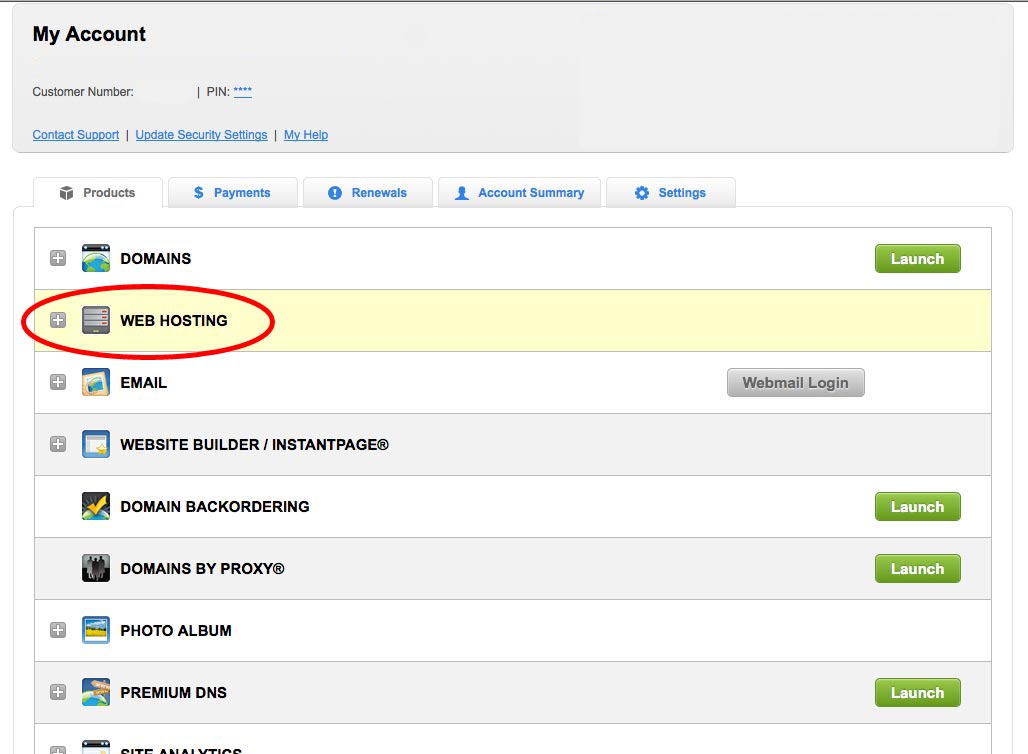
- Click Web Hosting.(click image below for screen shot. If image the screenshot is small, click the screenshot image to view full size.)
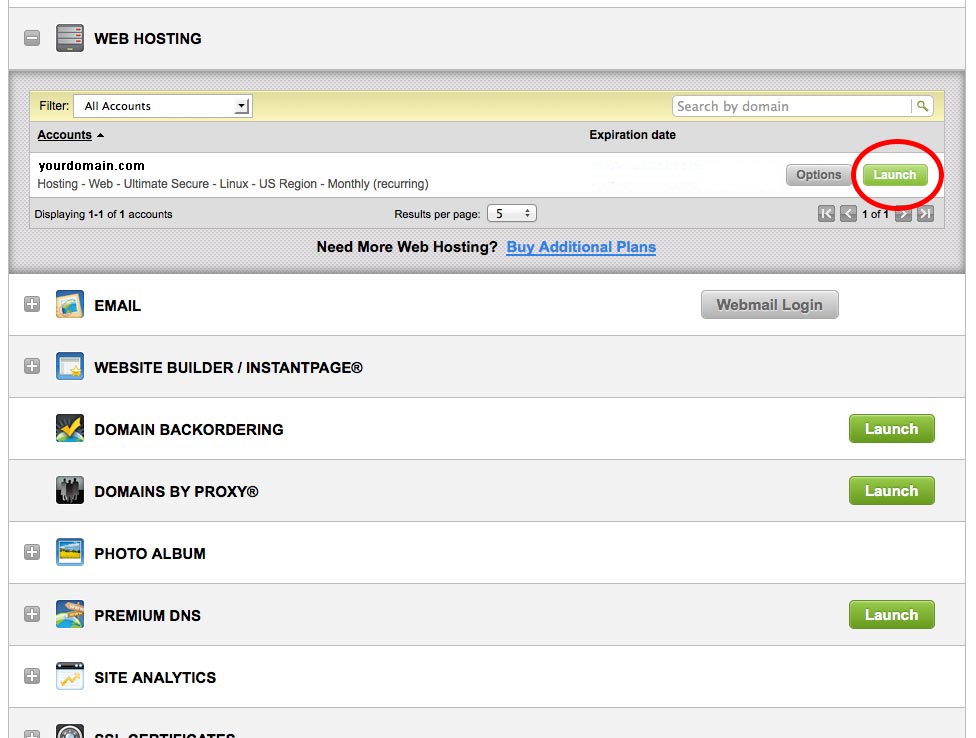
- Next to the hosting account you want to use, click Launch.(click image below for screen shot. If image the screenshot is small, click the screenshot image to view full size.)
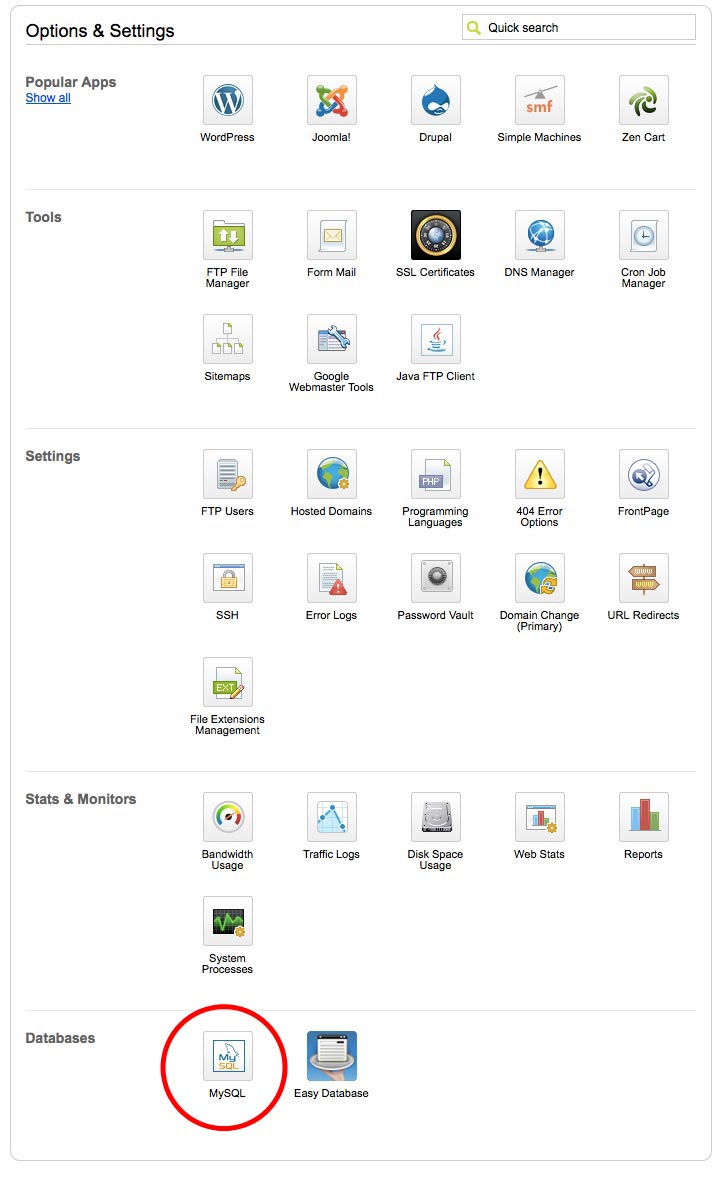
- In the Databases section of the hosting Control Panel, click the icon corresponding to the database you want to create.Click Add. NOTE: If you need to Allow Direct Database Access, but do not see the field, contact customer support. Direct Database Access is only available on paid hosting plans.(click image below for screen shot. If image the screenshot is small, click the screenshot image to view full size.)
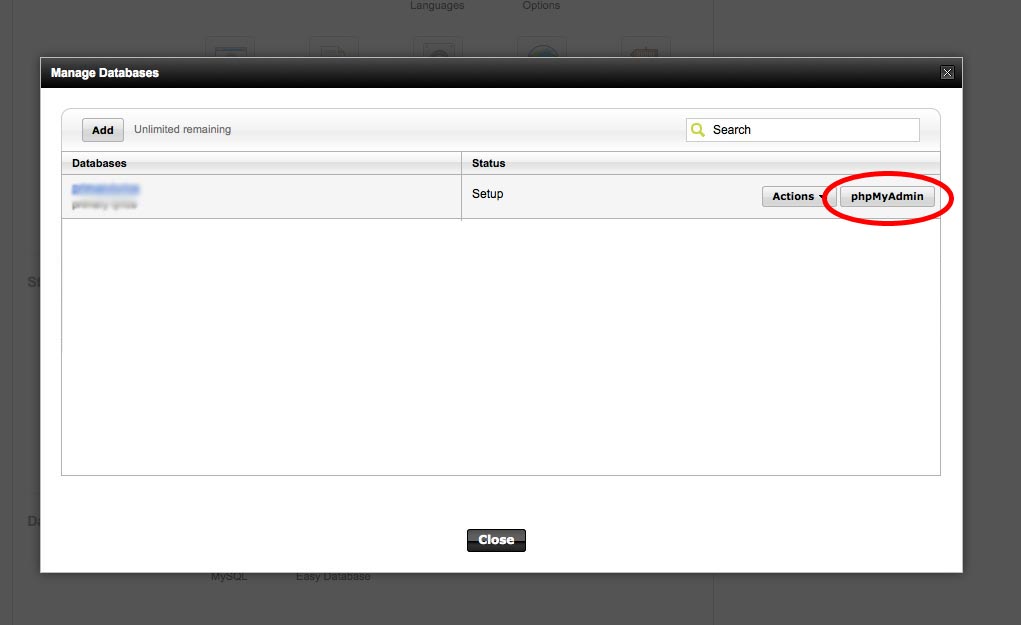
- Click the phpMyAdmin button next to the domain where you want to setup the database.(click image below for screen shot. If image the screenshot is small, click the screenshot image to view full size.)
- Fill in the requested information.(click image below for screen shot. If image the screenshot is small, click the screenshot image to view full size.)
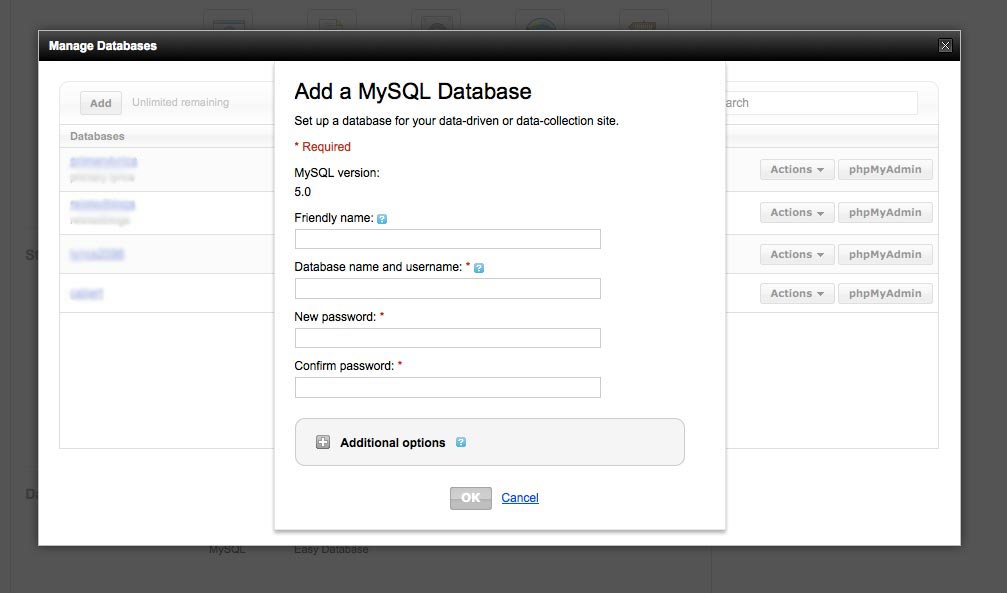
- Verify the settings and click OK.
- You will now need to import the database through phpMyAdmin. Click here for those instructions.
Confused? Stuck? We'll install it for you, click here for details!
Ads served by Godaddy : We RECOMMEND USING ONLY GODADDY
Home | Contact us | Get Hosting | Terms of Service | Install Service | Get Lifetime Updates for your website | Downloads Page | Make a Payment
